Christmas Star Ornaments

I’ve been keeping tabs on a lot of good DIY ornaments and decorations for the holidays coming up, so I wanted to try to make these stars. They’re super cute! The cool thing about these stars is that they’re super quick to make and you can use them as ornaments or even present toppers.

You will need:

>>a pair of scissors

>>pipe cleaners

>>cookie cutters (I used a star, but you could use a tree or bell shape, or whatever you want really!)

>>fabric scraps

>>twine or yarn

Christmas Star Ornaments

You can use an old flannel t-shirt or scraps of fabric you have laying around. You can also go to Joann’s and browse their remnants section and pick up some good pieces for less than a dollar (that’s what I did!).

Let’s start!

Take your pipe cleaner and wrap it around the cookie cutter. Don’t worry if your pipe cleaner bends out of shape when you’re wrapping it. You can redo the bends or change the shape!

DIY Christmas Stars

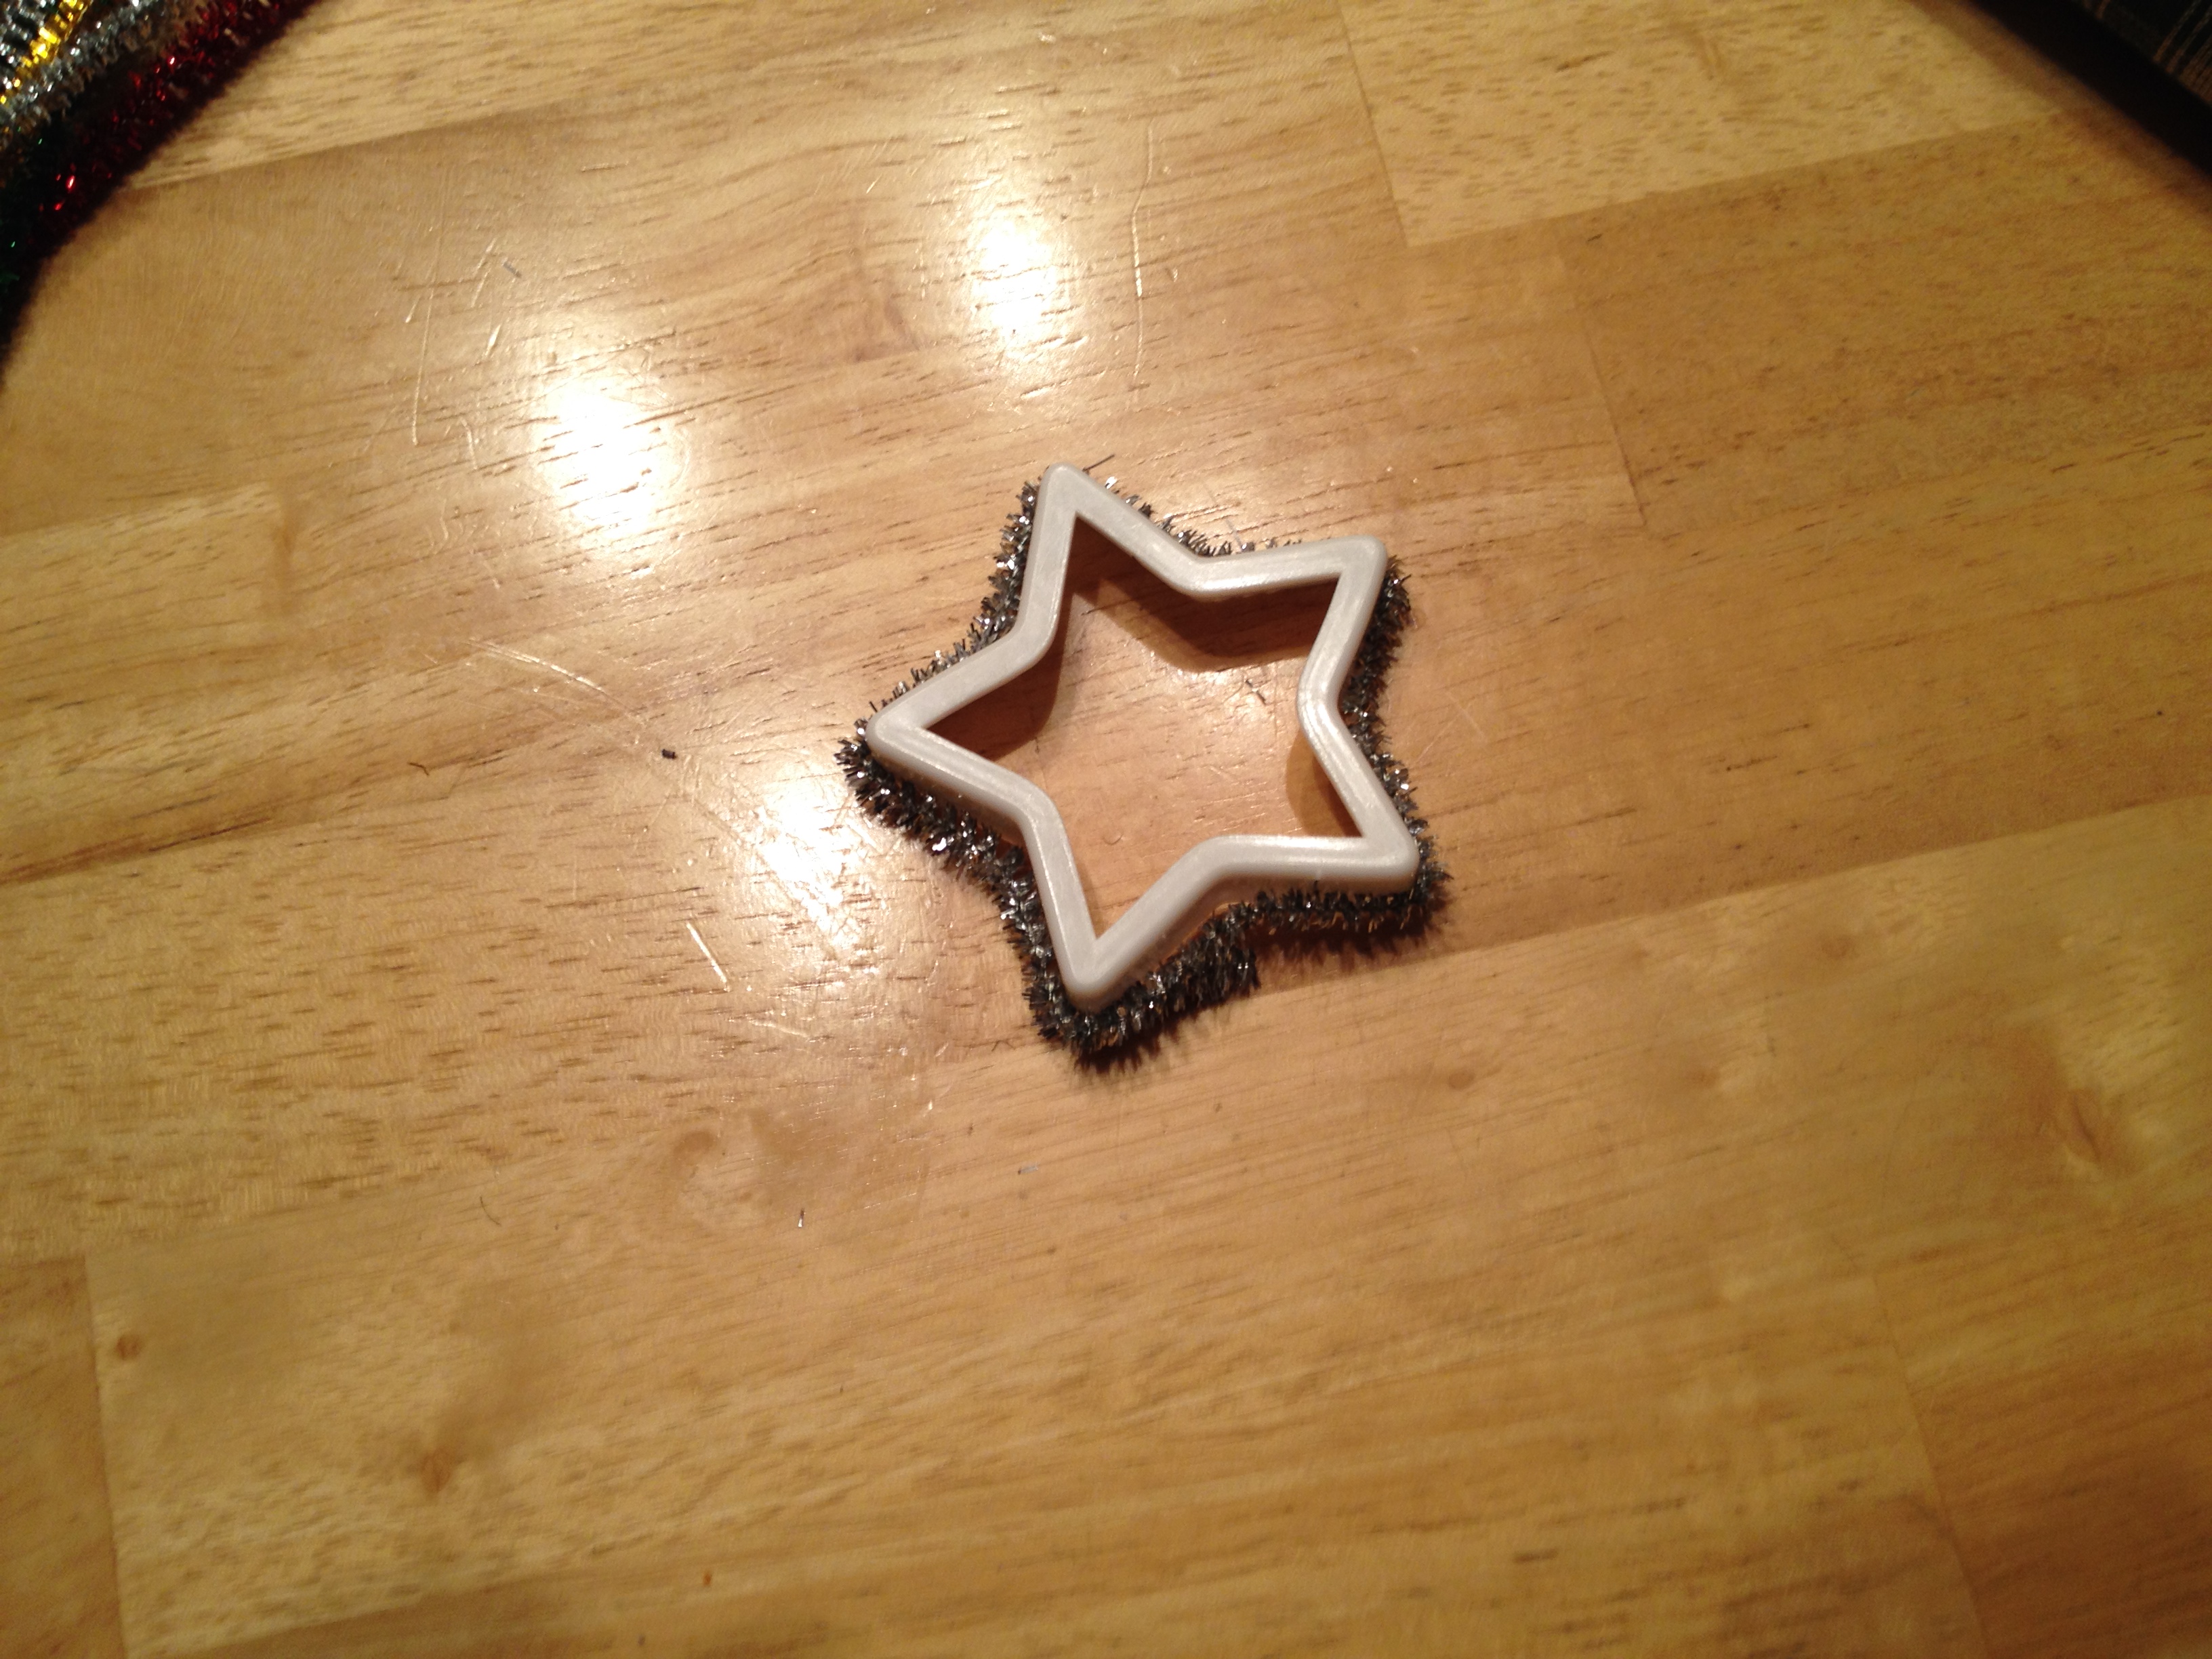
You might have to cut a bit off the end of your pipe cleaner, depending on the size of your cookie cutter. Twist the two ends together to hold the shape.

DIY Christmas Stars

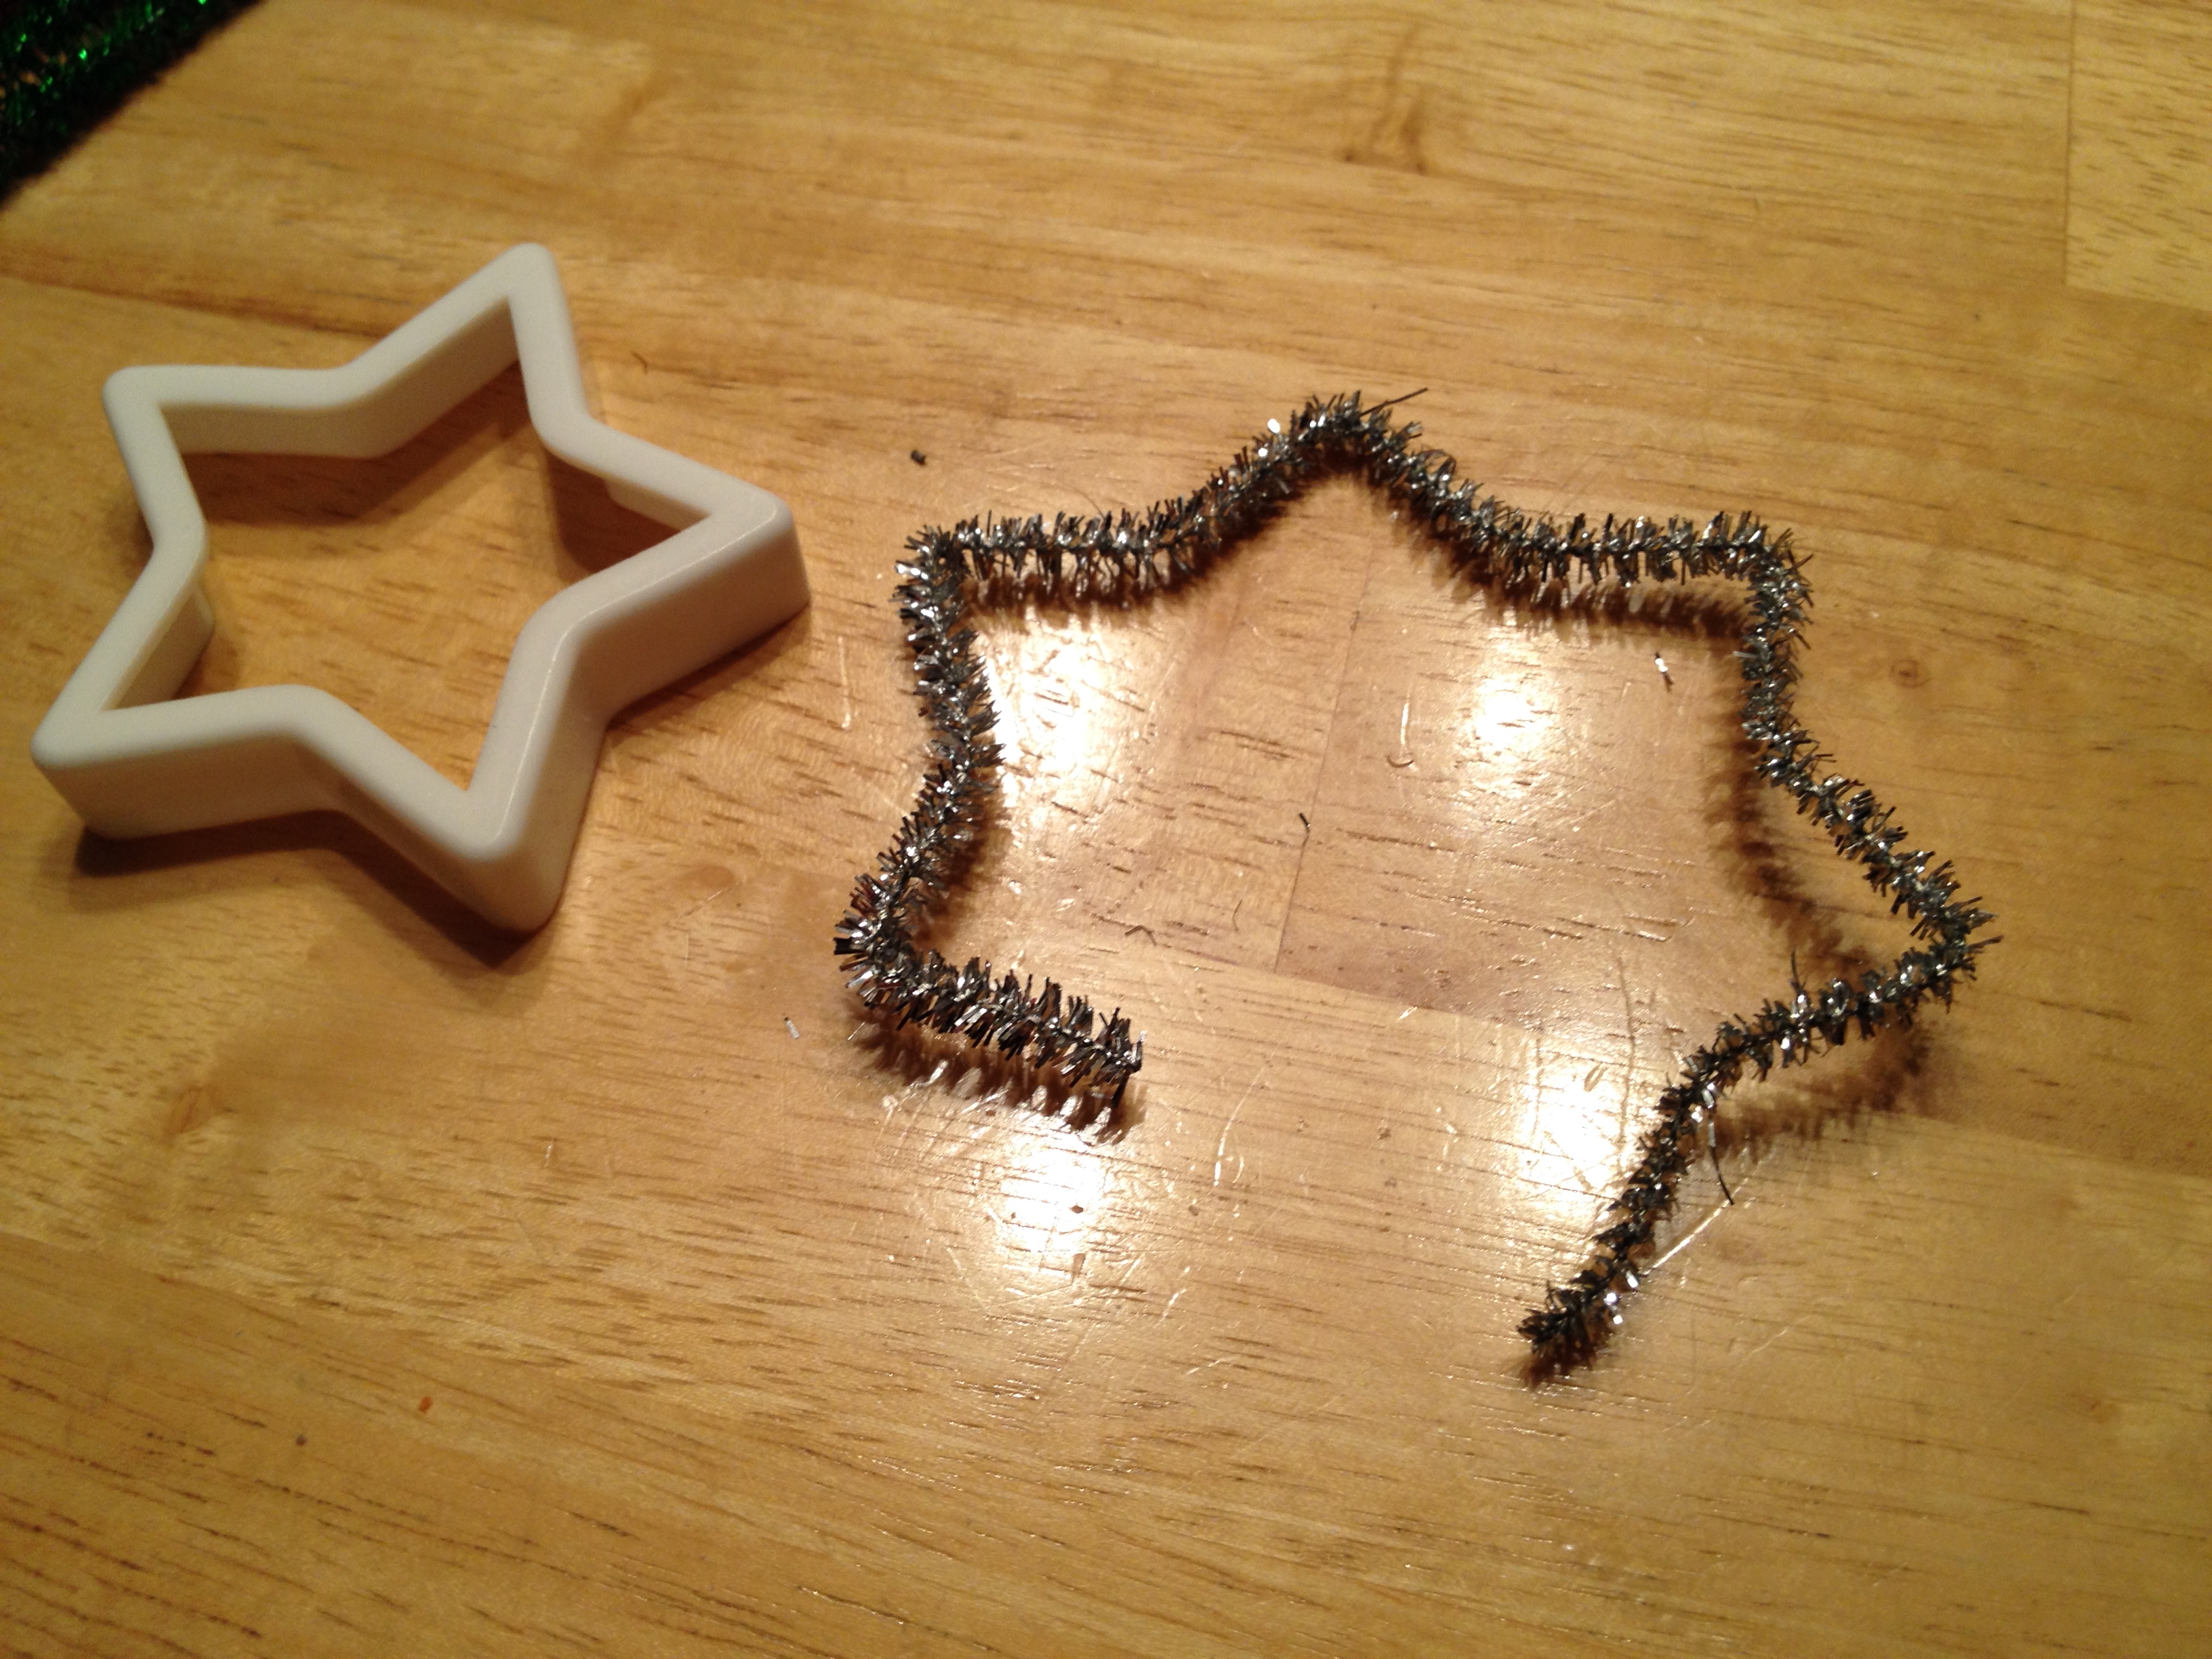
Take your fabric and cut it into thin strips. I started with about a 1/2″ strips, but ended up cutting that down to 1/4″. Don’t worry if your fabric frays at all. That just adds to the rustic charm! Start to the side of one of the points and wrap the fabric around once or twice to get it to stay. I ended up using two strips of my fabric. Just make sure you wrap the ends a little to get it to stay.

DIY Christmas Stars

If you have enough fabric left over, you can use it to tie a bow to hang your ornament from. I didn’t quite have enough, so I tied it in a knot and cut off the excess. Then use your twine or yarn to tie a loop so you can hang it.

DIY Christmas Stars

Don’t forget your selfie!

DIY Christmas Stars

I hope you enjoyed this DIY project, and don’t forget to follow us on Twitter for more updates! @diyselfie2014


Toilet Paper Roll Present

I always have toilet paper rolls laying around so I decided to put them to good use. I found this quick and creative project on Knack.

You will need:

  • A toilet paper roll
  • Decorations

I had automotive spray paint laying around to paint the roll.

20141117_220324

Use a rolled up piece of paper to hold the paper roll while you spray it with paint.

20141117_220813

Fold the ends in and crease the folds so you can see how much room you have to write your message.

20141118_074857

Write a little message for your special someone.

20141118_075258

Before sealing the gift roll insert your present. Candy fits nicely.

20141118_075442

Finally, tie the roll shut. You can also use glue or tape to seal the ends.

20141118_075954

Don’t forget to post a selfie!

20141118_221020

Hope you enjoyed this post, don’t forget to follow us on Twitter for more updates! @diyselfie2014 

Old CD Ornament DIY

With the holidays coming up, I was trying to find a fun Christmas-themed DIY project. I came across this old CD ornament project on Creme de la Craft, and I thought it was so pretty! It also seemed pretty simple.

You will need:

  • one or two old CD’s
  • a plain glass ornament (you could probably use plastic…the tutorial I used said glass and we only had glass with our Christmas stuff in my attic!)
  • scissors
  • strong super glue
  • shiny ribbon or metallic shred

IMG_2640

I was able to find a few CD’s I’ll never listen to again (goodbye, failed boy bands of the 90’s!), and I dug into my family’s boxes of Christmas decorations and found a plain glass ornament and gold metallic shred. The scissors and super glue were found in my mom’s junk drawer in the kitchen.

So, to begin, cut up your old CD into little pieces. I chose to do mainly different sized triangles. Be careful not to cut them too big, or they will stab you once you glue them onto your ornament.

IMG_2641

Next, put a small dot of super glue on the non-shiny side of your CD triangle. Place the glue-side onto the surface of your glass ornament.

IMG_2644

Continue to glue all of your little pieces of CD until you’ve covered the entire ornament. Be creative when deciding how far apart and what kind of pattern you want to glue them in. This will take about 1 to 1-and-a-half CD’s. Once you’ve finished gluing, fill the inside of the ornament with your shiny ribbon or metallic shred.

IMG_2647

Put the top back on the ornament and string some ribbon through it, and voila! You have a beautiful, shiny, hand-made ornament you can add to your Christmas tree when you start decorating in a few weeks.!

IMG_2636

Don’t forget to take your selfie!

IMG_2651

I hope you enjoyed this DIY project, and don’t forget to follow us on Twitter for more updates! @diyselfie2014

Fabric Cord Keeper

Whenever I go to school, a friend’s house, or traveling, my phone charger cord is always tangled everywhere! I’ve always wanted to find a way to make it less of a hassle, so I found this A-M-A-Z-I-N-G tutorial from Leafy Treetop Spot to save myself from this problem. Enjoy!

What you need:

  • A piece of fabric (I’m using a shirt I no longer use)
  • A small piece of velcro
  • Sewing machine (it can be done manually as well)

FullSizeRender-9

Let’s begin!

First off, cut a piece of paper with the dimensions: 2 3/4″ x 4 3/4″ with rounded ends. I used the template from the tutorial I followed, you can find it here

FullSizeRender-10

Cut the fabric using the dimensions, make sure you cut two pieces (Yes, my cutting skills are awful!)

FullSizeRender-8

Cut a small piece of velcro

FullSizeRender-13

Place the two pieces of fabric and sew or stitch them together (leave 2″ or so open for turning)

FullSizeRender-12

Attach the velcro

FullSizeRender-14

Your cord keeper is done! (Ok, I’m not the greatest at sewing either!)

FullSizeRender-15

Don’t forget your selfie!

FullSizeRender-17

Hope you enjoyed this post, don’t forget to follow us on Twitter for more updates! @diyselfie2014


Mason Jar Flower Decor

When it comes to doing a DIY project, I always make sure it’s going to be useful, delicate, and of course, affordable! I absolutely love having decorations all over my room, especially flowers- I wanted to play around with some ideas I found on Pinterest to create a decoration that is creative and subtle. I hope you guys enjoy this DIY Mason Jar Flower Decor!

What you need:

  • Mason jar
  • White matte paint (it can be spray paint)
  • Flowers (pink roses are my favorite!

FullSizeRender

To begin, carefully paint your mason jar, I decided to use spray paint because it was less messy and cheaper!

FullSizeRender-1

Make sure you set it to dry, you don’t want to get your house messy with white paint!

FullSizeRender-4

Once it’s dry, set your flowers inside the jar and place it where you want it to be!

FullSizeRender-5

Take your selfie!

FullSizeRender-6


Hope you enjoyed this post, don’t forget to follow us on Twitter for more updates! @diyselfie2014 


Welcome!

diy2-1

#doityourselfie is an idea that can catch on very quickly due to the popularity of selfies (taking pictures of yourself and posting them) and the recent surge of do-it-yourself projects. #doityourselfie plans to combine both of these ideas into one, creating a movement to have fun and show off while being creative and making something new. The drive behind this project is to promote green ideals by using recycled materials to create new things. It is meant to be fun and easy to get started as well as keep people involved since it is easy and cost-effective. Not only will #doityourselfie give you something to feel good about but you can also brag on various social media platforms about the project and what you just made. Everyone is welcome to comment, share, and even post ideas to the blog.

Join our movement and use the hashtag #diyselfie2014, connect with others with the same interest and share ideas!

P.S: Don’t forget to take your selfie with your finished product! Also, follow us on Twitter for updates! @diyselfie2014 


Enjoy!